
How Much Does It Really Cost to Own a Ham Radio Tower?
I’m often asked one of the most common questions in amateur radio: What does it really cost to have a ham radio tower professionally installed, and what are the ongoing maintenance expenses? The truth is, the cost can vary widely depending on tower size, location, and installation method. In this article, I’ll break down the different options, from initial installation to long-term upkeep, and share practical advice to help you get your first tower in the air. With the right planning and investment, a properly installed tower can provide many years of reliable service and enjoyment in the hobby.
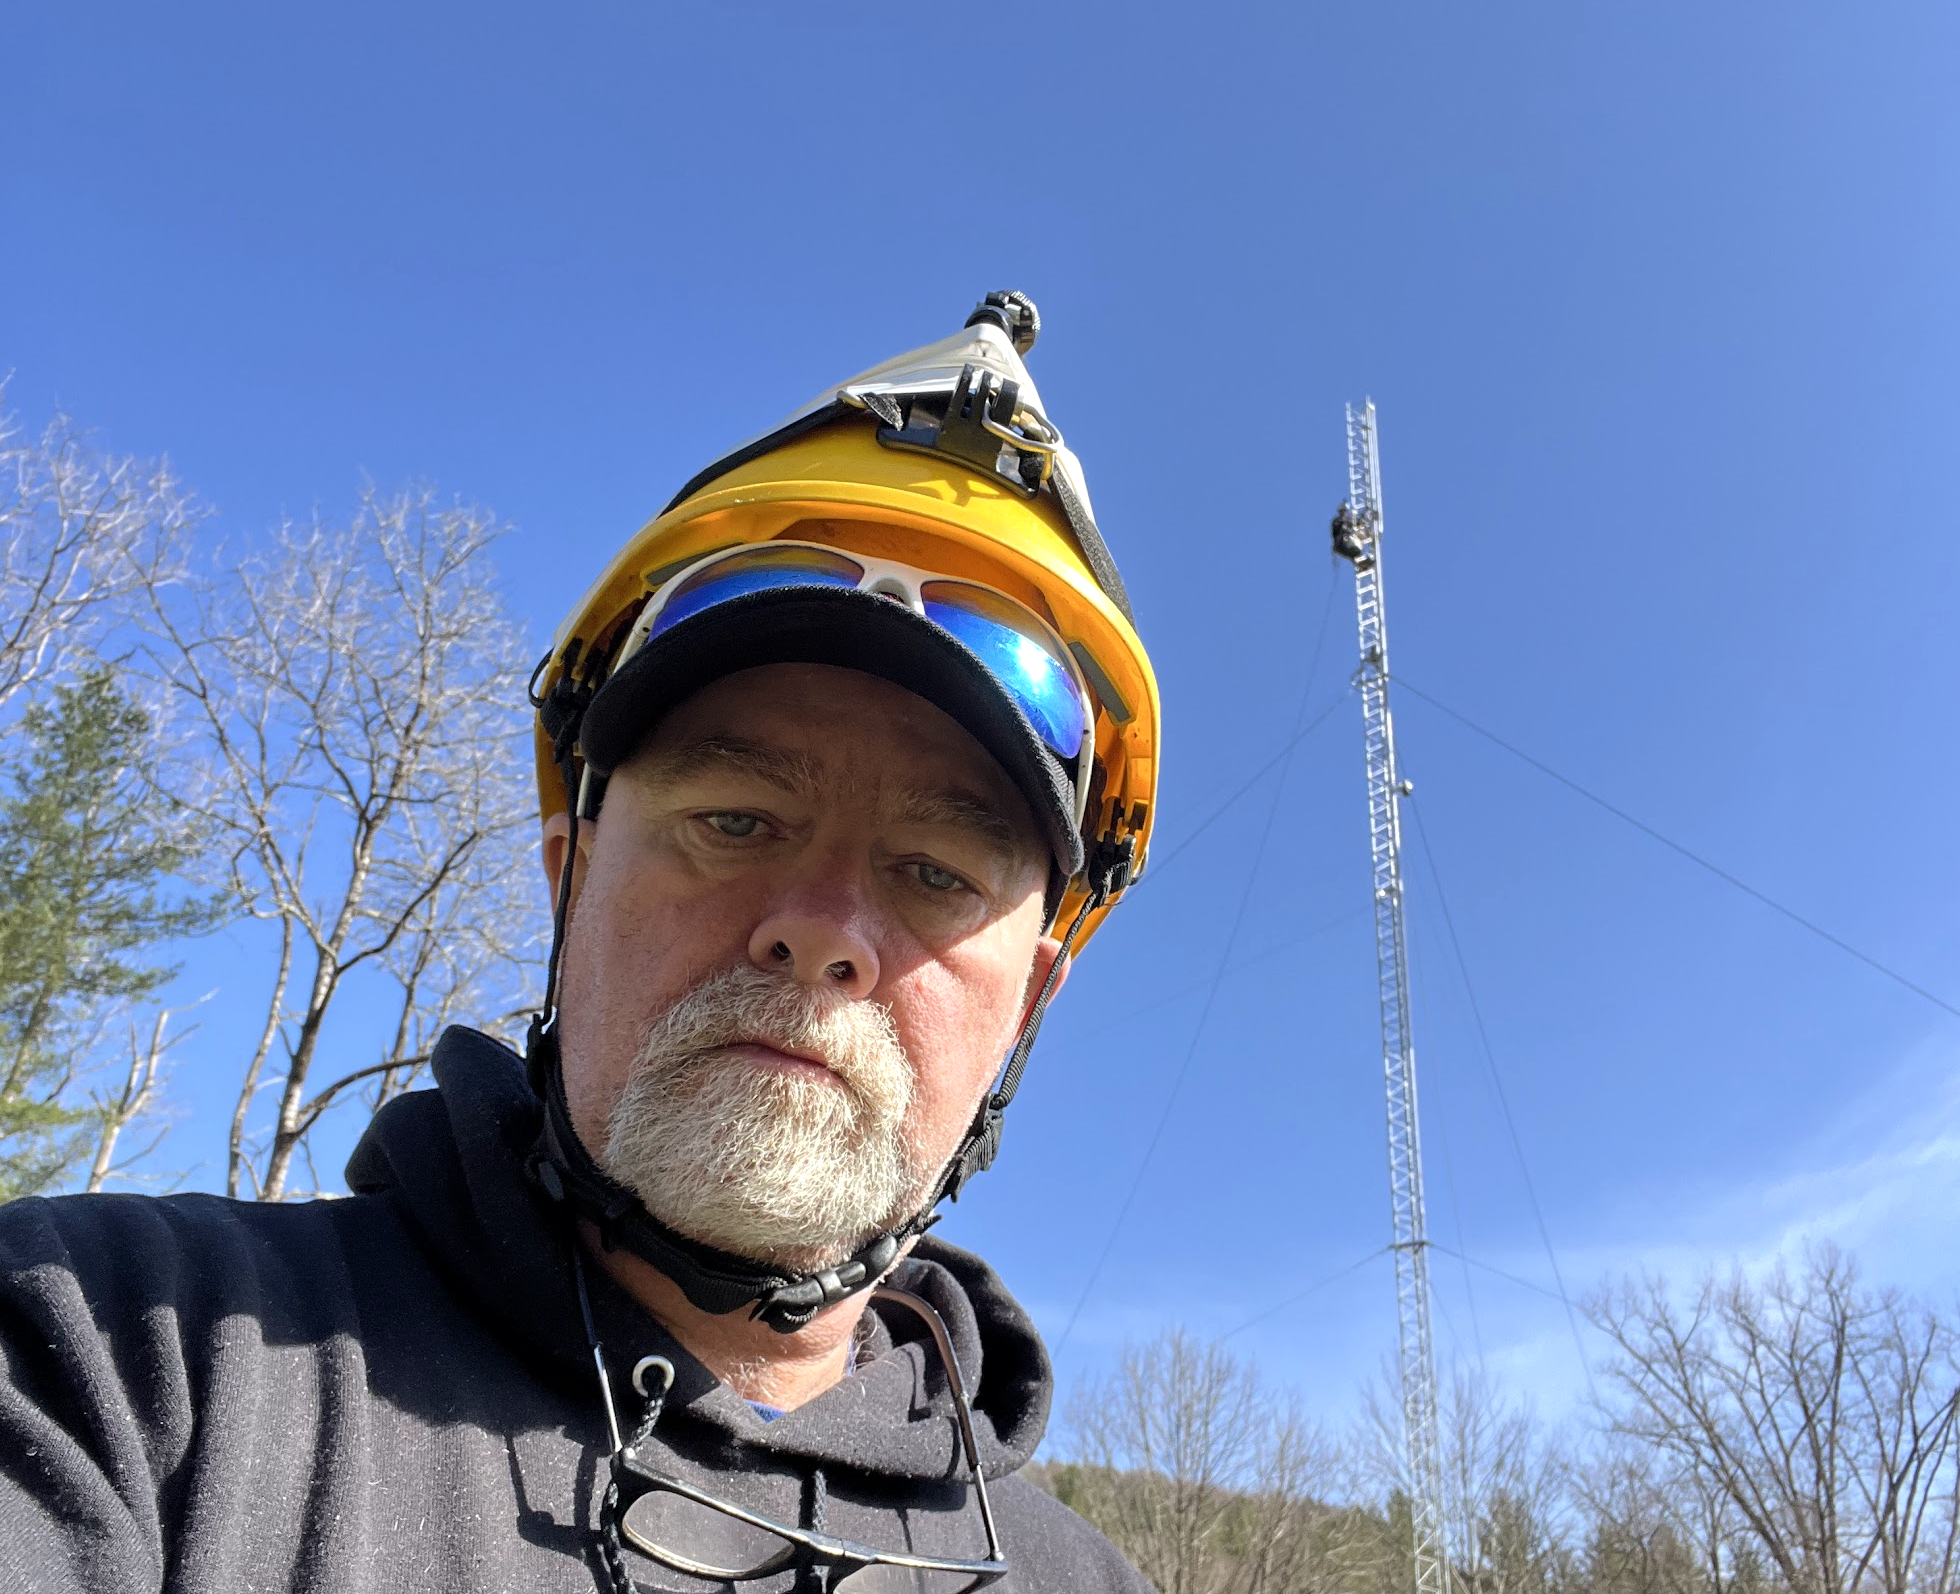
Ray W2RE (Author) in front of 120’ Rohn 45 tower install in the Catskill Mountains!
Choosing the Right Ham Radio Tower for the Job
Selecting the right ham radio tower is one of the most important decisions you’ll make as an amateur radio operator. The tower you choose directly impacts your station’s performance, long-term reliability, and even how smoothly the installation process goes. Before making the investment, it’s essential to carefully consider the following factors:
Frequencies to Be Used – The bands you operate on will influence tower height and antenna type.
Antenna Gain and Size – Larger, higher-gain antennas require stronger, more durable towers.
Ground Space Available – Your property size may limit the type or height of tower you can install.
Wind Load and Antenna Weight – Safety depends on ensuring your tower can handle environmental forces and equipment weight.
Zoning Restrictions, Safety, & PRB-1 – Local building codes, permits, and FCC PRB-1 protections must be reviewed.
Neighborhood Relationships – Good communication with neighbors helps prevent issues down the road.
Budget – Costs vary widely, from entry-level towers to professional-grade contest stations.
By weighing these considerations, you can select a ham radio antenna tower that not only meets your operating goals but also ensures years of safe and effective service.
Why Focus on HF Towers in This Article?
For the purpose of this article, we’ll focus on HF ham radio towers, since HF is the most popular frequency range where operators invest in permanent antenna structures. HF operation often benefits the most from added height and tower-mounted antennas, making it the logical starting point when discussing ham radio tower costs and installation considerations.
That said, the author has also installed highly competitive VHF and UHF towers, as well as complex systems for repeater sites and advanced EME (Earth-Moon-Earth) moonbounce arrays. Each of these presents unique challenges in design, installation, and maintenance. We’ll save those specialized topics for another article, ensuring this guide stays focused on what most operators want to know first—how to get started with an HF ham radio antenna tower that delivers years of reliable service.

A Look at a Mega Ham Radio Tower in Jonesport, ME
One example that demonstrates what’s possible in ham radio tower engineering is a site the author owns in Jonesport, Maine. Standing at an impressive 180 feet, this rotating tower carries an extraordinary 96-element antenna array—one of the largest systems you can install in amateur radio.
This powerhouse setup covers multiple bands, including 10 meters, 15 meters, 20 meters, 40 meters, and 6 meters, delivering world-class performance for contesting and DXing. And that’s just one structure—this station features a total of five radio towers, making it one of the most capable ham radio sites in the region.
A system of this scale is far beyond what most operators will ever need, but it highlights how careful planning, engineering, and investment can take a ham radio station from modest to truly world-class.
Size and Type of Ham Radio Antennas
When planning your ham radio tower installation, the size and type of antennas you intend to use are critical factors. Your tower must be engineered to handle not only the antennas themselves but also the total wind load, weight, and environmental stresses over time. Here are key considerations:
Fixed or Rotatable Antennas – Rotatable beams and yagis require stronger towers and rotators, while fixed wire antennas may demand less structural support.
Center of mast or Mounted on tower? – How the antenna is mounted on the mast changes the balance, torque, and load on the tower.
Antenna Height Placement – The height of each antenna affects performance, stacking options, and overall tower stability.
Wind Load Calculations – Add up the square footage of every antenna, mast, and rotator to ensure your tower rating can handle peak wind conditions.
Total Weight – Don’t overlook the combined weight of antennas, mast, rotators, thrust bearings, and hardware.
Feedline and Control Cables – These add both wind drag and weight, which must be factored into the design.
Safety Factor for Ice Accretion – In colder climates, towers must account for ice buildup, which can dramatically increase load.
The bottom line: a ham radio antenna tower must be chosen with a full understanding of your planned antenna system. Cutting corners here can shorten the lifespan of your tower—or worse, lead to catastrophic failure. Always select a tower that not only meets but exceeds your calculated load requirements, giving you the safety margin needed for years of reliable service.
Space Available and Zoning for Ham Radio Towers
Before installing a ham radio tower, one of the most important steps is evaluating the space you have available and understanding zoning requirements. Even with FCC PRB-1 protections that support amateur radio, local zoning laws and building codes still apply—and overlooking them can cause costly delays.
Key factors to consider include:
Zoning Regulations – PRB-1 provides guidance, but it doesn’t override local ordinances. Always review your town’s requirements before breaking ground.
Safe Fall Zone – Make sure the tower cannot fall onto buildings, roads, sidewalks, or power lines if it were to come down.
Low Visibility Locations – Placing your tower in an area that minimizes neighbor concerns helps avoid conflicts.
Guy Wire Space – A guyed tower requires anchors at roughly 80% of the tower’s height from the base, which means significant land area.
Tilt-Over or Crank-Up Towers – These need clear space for the structure and antenna to fold down safely during maintenance.
Feedline Access – Choose a location that allows efficient routing of coax and control cables into your shack.
By balancing zoning compliance, safety requirements, and neighbor-friendly placement, you’ll set yourself up for a smooth tower installation and long-term station success.
Popular Ham Radio Towers: Choosing the Right Configuration
When it comes to installing a ham radio tower, understanding the most common types used by amateur operators can help you select the right solution for your station. While there are countless variations, most hams use one of four basic configurations:
House-Bracketed Triangular Lattice Towers (Rohn 25) – Ideal for smaller installations where ground space is limited. These towers attach directly to a building and provide reliable support for modest antenna arrays.
Tubular or Triangular Lattice Crank-Up Towers – Popular for operators who want the ability to lower antennas for maintenance safely. Crank-up towers offer flexibility without sacrificing height or load capacity.
Guyed Triangular Lattice Towers – A cost-effective solution for taller installations. Guyed towers require anchor points for stability but can support large multi-element arrays.
Free-Standing Triangular Lattice Towers – These towers don’t require guy wires and provide maximum stability, making them ideal for high-performance HF and VHF/UHF antennas.
Choosing the right tower type depends on your available space, antenna requirements, local zoning, and budget. Understanding these options ensures your ham radio antenna tower delivers long-term performance, safety, and reliability.

A Tubular Crank-Up Tower
One example from the author’s experience is a tubular crank-up tower equipped with GXP antennas, installed alongside fellow ham Bobby KC2UPN. This type of tower provides the flexibility to raise and lower antennas safely for maintenance or upgrades, making it ideal for high-performance HF operations.
However, building and maintaining a structure of this scale is quite expensive. Between the tower itself, the antennas, rotators, and ongoing upkeep, costs can add up quickly. This example highlights the level of investment required for serious amateur radio operators who want reliable, long-term performance and the ability to operate at the highest level.

Bracketed Lattice Towers: Compact and Reliable Ham Radio Solutions
For hams with limited space or who prefer a minimal-footprint installation, house-bracketed lattice towers are a popular choice. Models like the Rohn 25G and 45G offer a sturdy, guy-free solution that mounts directly to a building.
Key features include:
No Guys Needed – These towers don’t require additional guy wires, making them ideal for smaller properties.
Height Above Bracket – The 25G extends up to 10-20 feet above the bracket, while the 45G can reach 20-30 feet, providing good elevation for HF antennas.
Bracket Installation – Brackets should be mounted at least 12 feet above a concrete base and can be either bolted through or lagged for secure attachment.
Antenna Capacity – Suitable for most average tri-band beams, but not recommended for large antennas or stacked arrays.
Bracketed lattice towers are an excellent option for operators seeking a compact, reliable ham radio antenna tower that delivers good performance without the complexity or cost of larger structures.
1. Installing a Rohn 25 Bracketed Tower
A Rohn 25 bracketed tower mounted to your home is the most compact and cost-effective tower option for amateur radio operators. Even with a small Yagi antenna, professional installation involves multiple components: excavation, material, a concrete pad, coaxial cable, lightning protection, rotor, mast, and rotor cabling. All of this ensures a safe, functional, and durable installation.
2. Cost Breakdown and Installation Process
Professionally installing a Rohn 25 tower typically ranges from $10,000 to $15,000. The process generally requires two trips: the first to dig and pour the concrete—about 2–3 cubic yards for a 4×4-foot hole with a rebar cage—and the second for tower erection and antenna installation. While this is the most affordable tower solution, it only provides 10-20 feet of elevation above the bracket. Typically 30’ or 40’.
3. Upgrading to a Rohn 45
If you opt for a Rohn 45 tower bracketed around 15 feet and up to 40’ or possibly 50’ which improves antenna performance. However, this upgrade typically adds around $2,000 to your installation costs over Rohn 25. While still a relatively affordable option, careful consideration of space, budget, and antenna goals is essential to ensure your investment delivers years of reliable service. There’s very little maintenance required with this approach other than periodically checking the bracket to make sure everything remains tight.

Rebar and formed base above grade! This is an install in Maine with Rohn 45 to be bracketed to house.
Free-Standing Ham Radio Towers: Strong, Compact, and Reliable
For operators seeking a tower that requires no guy wires or house brackets, free-standing towers are a popular choice. These towers provide a small footprint and a clean installation while maintaining solid structural stability.
Key features include:
No Guys or Brackets Needed – Ideal for properties where space is limited or aesthetics are important.
Limited Antenna Loads – While stable, free-standing towers can only support moderate antenna arrays compared to guyed towers.
Larger Concrete Base Required – Proper installation demands a substantial foundation to ensure safety and longevity.
Relatively Expensive – Installation costs are higher than bracketed or guyed towers, but the reduced maintenance and space requirements can justify the investment.
Variety of Models and Options – From small HF setups to larger VHF/UHF configurations, there are solutions for many station goals.
One example is the Gallery, shown below is a free standing tower the author installed a few years back, which demonstrates how a free-standing lattice tower can provide reliable service without the complexity of guy wires or building attachments. For hams who value stability, compactness, and long-term reliability, free-standing towers remain a top-tier option. The cost to have this professionally installed with concrete pad can vary between $50,000-$75,000. Crane operation is most likely needed. Once installed, there’s very little maintenance required


Aluminum Free-Standing Fold-Over Towers: Caution Advised
There are aluminum free-standing fold-over towers available on the market, which offer the convenience of easy lowering for maintenance. However, caution is required: these towers are designed to handle very limited wind load and can fail under moderate stress.
The author does not recommend this type of tower unless you plan to mount a very small Yagi antenna or similarly lightweight equipment. One company that produces these towers is Alumina Tower, but it’s essential to research carefully before purchasing, ensuring the specifications meet your safety and operational needs.
While lightweight and convenient, aluminum fold-over towers should be treated as entry-level solutions rather than long-term installations for serious HF or multi-band operations. Prioritizing safety, durability, and load capacity will prevent costly failures and ensure reliable service for your ham radio station.
Comparison: Steel vs. Aluminum Free-Standing Ham Radio Towers
Key Takeaway: While aluminum fold-over towers are convenient and inexpensive, they are limited in wind-load capacity and suitable only for lightweight antennas. Steel free-standing towers, such as those from Trylon or Rohn, are more expensive but provide long-term reliability, higher antenna capacity, and superior safety for serious ham radio installations.
Comparison: Steel vs. Aluminum Free-Standing Ham Radio Towers
➔ Material:
Aluminum Fold-Over Towers: Lightweight aluminum
Steel Free-Standing Towers (Trylon, Rohn HBX/55): Heavy-duty steel
➔ Ease of Lowering:
Aluminum: Yes, fold-over design
Steel: No (requires crane or lift for tall towers)
➔ Wind Load Capacity:
Aluminum: Very limited; high risk of failure
Steel: High; designed for serious HF/VHF/UHF arrays
➔ Antenna Size:
Aluminum: Small Yagi only
Steel: Moderate to large antennas; multi-band arrays
➔ Durability:
Aluminum: Moderate; wind load
Steel: High; long-lasting and low-maintenance
➔ Installation Cost:
Aluminum: Lower upfront cost
Steel: Higher upfront cost
➔ Footprint:
Aluminum: Small
Steel: Small to moderate, depending on model
➔ Recommended Use:
Aluminum: Light-duty, entry-level
Steel: Serious ham operators seeking long-term reliability
➔ Examples:
Aluminum: Alumina Tower
Steel: Trylon (Canada), Rohn HBX, Rohn 55

Tashijan HD Crankup to 70’ Motorized. Professionally installed by Radio Echo Communications
Crank-Up Towers: The Most Expensive Ham Radio Option
When it comes to ham radio towers, the crank-up tower represents the top-tier, most expensive choice for serious operators. These towers offer the flexibility of motorized operation or a hand winch to safely raise and lower antennas, making maintenance easier and safer—especially for large multi-band arrays.
For example, the tower shown in the photo cost $60,000 just for the tower itself delivered. Once you factor in concrete foundation, antennas, coaxial cabling, rotor, wiring, and lightning protection, the total installation came to approximately $90,000.
While the upfront cost is substantial, crank-up towers provide:
➔ Unmatched flexibility for maintenance and antenna adjustments
➔ Exceptional load capacity for multi-element HF, VHF, and UHF arrays
➔ Long-term durability and reliability for serious contesting and DX operations
For operators seeking the ultimate ham radio tower experience, investing in a crank-up tower ensures maximum performance, safety, and years of uninterrupted operation.
Crank-Up Ham Radio Towers: Flexible and High-Performance
Crank-up towers are a popular choice among serious amateur radio operators because they combine flexibility, height, and durability. These towers allow antennas to be raised and lowered safely for maintenance, making them ideal for multi-band and contesting setups.
Key features include:
➔ Types: Available in both lattice and tubular designs.
➔ Mounting Options: Can be bracketed, guyed, or free-standing depending on property and station requirements.
➔ Materials: Available in steel or aluminum, offering options for strength, weight, and budget.
➔ Foundation Requirements: Freestanding crank-up towers require a massive concrete base to support height and antenna load.
➔ Height Range: Typically from 40 feet to over 100 feet, allowing optimal antenna placement for HF, VHF, and UHF operations.
➔ Load Capacity: Models range from light-duty to extreme-duty, supporting everything from a single beam to large multi-element arrays.
➔ Cost Considerations: Crank-up towers are generally very expensive to purchase and professionally install. They are the most expensive option of them all, but provide unmatched flexibility and long-term performance.
For operators seeking a high-performance ham radio tower with easy maintenance and long-term reliability, crank-up towers remain a top-tier option. Proper planning for height, load, and foundation ensures safety and optimal station performance.
Tubular Crank-Up Towers: The US MA550 Example:
For operators looking for a more affordable crank-up tower, options like the MA550 from US Towers are available. This tubular crank-up design offers flexibility and decent height for HF and VHF/UHF antennas, but there are important considerations before purchasing.
➔ Cost: The tower itself starts at around $4,000, not including necessary accessories such as rotors, cabling, or lightning protection.
➔ Shipping: Expect to pay a few thousand dollars in shipping due to the size and weight of the components.
➔ Foundation: A proper concrete pad is required for installation, but the tower is limited to 10 lbs/sq ft wind load, restricting larger or multiple antenna arrays.
➔ Professional Installation: Hiring a professional installer to do turnkey with antennas will typically bring the total cost to approximately $20,000.
➔ Availability: This tower is not readily available; delivery can take 6 months to a year depending on production and shipping schedules.
The MA550 is a solid option for operators who want a reliable, moderately-priced crank-up tower, but planning for cost, delivery time, and wind-load limitations is critical to ensure a safe and effective installation.
Maintaining a Crankup tower—especially a crank-up model—comes with significant costs. Both US Towers and Tashjian recommend replacing the cables every 5–7 years. For example, on a 72’ US Tower, this can amount to roughly $1,500 for the cables plus an additional $3,000 in labor. We know this firsthand, as we perform these maintenance tasks regularly.
It’s important to keep these expenses in mind when owning a crank-up tower. While other tower types do require maintenance, it is typically far less involved and costly compared to a crank-up tower.
Lets Talk Guyed Towers!

A 60-foot Guyed Rohn 25 tower with a GXP 5B-3L and a 5-element 6M antenna, professionally installed, is valued at $20,000 (new pricing). This installation was carefully designed and executed to fit on a ¼-acre lot for this customer.
Guyed Lattice Ham Radio Towers: High-Performance and Versatile
Guyed lattice towers are a favorite among serious amateur radio operators—and the author’s personal top choice—for building high-performance, long-lasting stations. These towers can reach heights of up to 200 feet and are designed to support large multi-element antenna arrays for HF, VHF, and UHF operations.
Key features include:
➔ Height: Can extend up to 200 feet or higher, providing exceptional antenna elevation for long-distance communications.
➔ Wind Load Capacity: This is the author’s preferred option because it can handle significant wind load, ensuring stability even in harsh conditions.
➔ Engineering Requirements: Requires careful engineering and planning to ensure safety and performance.
➔ Footprint: Very large footprint; anchors extend out to 80% of the tower height.
➔ Guy Wire Configuration: Typically one to five sets of guy wires spaced 120° apart for maximum stability. The author even demonstrates rotating guyed towers in this video below to optimize antenna positioning.
➔ Load Capacity: Capable of supporting very large antenna arrays, including stacked HF beams and multi-band VHF/UHF antennas.
➔ Versatile Applications: Suitable for contest stations, DXing, repeaters, and high-performance amateur setups.
➔ Cost Considerations: Moderately expensive compared to bracketed or small free-standing towers, but more affordable than large crank-up systems.
For operators seeking height, versatility, wind resistance, and performance, guyed lattice towers provide a reliable, long-term solution for building a world-class ham radio station.

Here is a 120’ Rohn 45 Tower we installed in the Catskill’s in Spring of 2025.
High-Performance Guyed Tower Example: 120’ Rohn 45
In this photo, you see a 120-foot Rohn 45 tower equipped with a GXP 17-4 antenna and guyed three times using Phillystran wire. Professionally installed as a turn-key solution, this tower and antenna cost the customer approximately $75,000.
For operators with the space, a tower like this is the ultimate option—offering maximum height, stability, and antenna capacity for serious HF and VHF/UHF operations.
However, smaller options are available for those with limited space or budget. For example, a Rohn 25 at 60 feet provides reliable performance at a much lower cost, making it an excellent choice for more modest installations without sacrificing quality.
Whether building a world-class contest station or a high-performance personal shack, understanding your space, budget, and antenna goals will help you select the best tower for your ham radio station.
A guyed ham radio tower is one of the most reliable and cost-effective options for serious operators. When properly installed, a guyed tower will provide many years of excellent performance for your ham radio station. The only routine maintenance required is a periodic inspection of the guy anchor points—checking turnbuckles, shackles, and the tower’s guy bracket to ensure everything remains tight and secure.
With minimal upkeep, a guyed tower can deliver outstanding results and long-lasting stability, making it a top choice for amateur radio enthusiasts who want maximum height and strength without the expense of a self-supporting design.
Why the Author Chooses Rotating Towers
Now that we’ve reviewed the costs of various tower options, it’s time to show why the author prefers building his own stations with rotating towers.
In this video, you’ll see the benefits of rotating towers firsthand. If you have the space and resources, this setup can be an excellent choice for serious ham radio operators looking to maximize performance.
Key highlights include:
➔ Rotation Advantage: Rotating towers allow you to position antennas for optimal signal, track propagation, and easily switch between bands or directions without physically climbing the tower.
➔ Professional Installation Cost: The tower shown in the video, a 180-foot rotating tower, cost approximately $100,000 all-in, including concrete, antennas, coax, rotor, wiring, and lightning protection.
➔ Long-Term Investment: While expensive, this option delivers unmatched flexibility, performance, and longevity for a world-class amateur radio station.
For operators aiming for maximum antenna efficiency and high-performance DX operations, a rotating tower represents the ultimate solution in tower technology.
Basic Rules for Ham Radio Tower Installation
Installing a ham radio tower requires careful planning, attention to detail, and a commitment to safety. Following these basic rules will ensure your tower performs reliably for years while keeping you and your property safe.
➔ Research and Design Carefully – Plan your tower layout, height, and antenna load before ordering or installing.
➔ Follow Manufacturer’s Instructions – Always adhere to the guidelines provided for assembly, mounting, and operation.
➔ Respect Manufacturer’s Specifications – Don’t exceed weight limits, wind-load ratings, or height recommendations.
➔ No Shortcuts or Skimping – Cutting corners on materials, installation, or foundation can lead to catastrophic failure.
➔ Beware of “Home-Made” Components – DIY modifications may compromise tower integrity and safety.
➔ Don’t Overload the Tower – Antenna arrays, rotors, and feedlines all add weight and wind load—stay within limits.
➔ Inspect and Maintain Regularly – Periodic checks for corrosion, guy wire tension, and structural integrity are essential.
➔ Safety First – Always use proper personal protective equipment and follow best practices when working at heights.
Following these rules ensures your ham radio tower installation is safe, durable, and capable of delivering optimal performance for HF, VHF, and UHF operations.

Authors used tower stash
Used Ham Radio Towers: A Cost-Effective Option
For hams on a budget, used towers can provide a lower-cost alternative to buying new. However, careful inspection is critical to ensure safety, longevity, and performance.
Key considerations when evaluating a used tower:
➔ Lower-Cost Opportunity – A used tower in good condition can save thousands compared to a new installation.
➔ Thorough Inspection – Check inside and out for structural integrity and overall condition.
➔ Hardware Check – Are all original bolts and hardware included? Missing parts or replacement hardware may indicate previous issues. Inspect middle-section bolts for rust or wear.
➔ Straightness – Ensure all tower sections are true and not bent.
➔ Welds and Rust – Look for fine weld cracks, rust pitting, or surface corrosion. Surface rust isn’t always a deal-breaker, but it should be evaluated carefully.
➔ Mechanical Components – Examine winch cables, hinge pins, and moving parts for rust, fraying, or damage, especially on crank-up or tilt-over towers.
When done properly, buying a used ham radio tower can be a safe, budget-friendly option for amateur radio operators, but skipping inspections or overlooking rust and structural issues can lead to costly failures or safety hazards.
Ham Radio Tower Bases: Foundation Best Practices
A solid foundation is critical to the safety and longevity of any ham radio tower. Properly designed tower bases ensure stability under wind load, antenna weight, and environmental conditions.
Key considerations for tower bases include:
➔ Standard Designs – Most tower bases assume “normal” soil conditions. Unstable soils, such as sand or loose fill, require additional engineering and reinforcement.
➔ Concrete Strength – Use 3000 psi or stronger concrete to ensure the foundation can support the tower and antenna load safely.
➔ Excavation – Whenever possible, dig a straight-sided hole in undisturbed soil to maximize stability and minimize settling.
➔ Crowned Cap – Form a crowned concrete cap at least 3 inches above grade. This helps shed water, prevent dirt accumulation, and protect the base from moisture damage.
Following these best practices for tower foundations ensures that your ham radio installation is safe, durable, and capable of handling years of high-performance operation.

Here’s the author with his son, pouring a foundation in New York. For this project, we specifically formed the hole with a rebar cage—it’s designed to support a rotating tower base. While some situations call for forming the base, most of the time it’s best to pour directly against undisturbed soil. Always start with at least a 6" gravel bed and make sure to build a strong rebar cage for maximum stability.
There’s so much more we could dive into on this subject, but let’s start with the four main types of towers: Free-Standing, Crank-Up, Bracketed to the House, and Guyed Towers. We’ve walked you through the four main types of towers and their costs, and here’s the bottom line: if you have the space, a guyed Rohn tower is the top choice. If space is tight, you’ll need to carefully evaluate your next best option—we’ve broken it all down in this article.
Ready to make it happen? At RadioEchoComm.com, we help serious ham radio enthusiasts and commercial clients bring their tower projects to life. We’ve installed towers for NASA, Homeland Security, and Boeing, and we specialize in HF stock trading setups as well.
No matter your project, big or small, we’re here to guide you every step of the way. Reach out today and let’s get your tower off the ground! Now, some might ask, “What about roof-mounted towers?” Here’s the reality: we don’t install them. Insurance companies typically won’t cover potential roof damage, so any roof install comes with added risk—you’ll need to price it out and assume responsibility. The author won’t even consider such an installation, but for those willing to take the risk, it is technically an option.
In Summary: There are four solid options for getting your ham antenna upright on a tower. I’ve outlined the costs of hiring a professional, but you can save a lot by doing it yourself—especially if you’re buying a used tower. That said, if you don’t have the skill or time, the four tower options I covered provide a solid starting point. I’ll be digging deeper into this topic in future blogs.
We post daily on social media, so for more tips, insights, and behind-the-scenes looks, be sure to check out the icons below. Thanks for reading, and I hope you enjoyed this deep dive into the “Real Cost of Owning a Tower.”
You can also find us at www.w2re.com and HamRadio247.com to learn more about everything we have to offer—tips, services, and expert guidance for your ham radio journey.